Newsletter Scheduling Updates
We recently updated the newsletter scheduling process with the goal of creating a seamless user experience. Please read below to get familiar with all of the changes.
We've changed how auto-save works. It'll keep working in Step 1 - Create, when you're creating your newsletter, except during the Step 2 Preview and scheduling part. We made this change because auto-save was causing problems. It would break the time or change the email subject and preview text when you scheduled it. In Step 2, you'll see buttons to either 'Continue editing' or 'Save and schedule'. We're still working on adding a 'Save draft' button, but for now, both current options will save your newsletter.
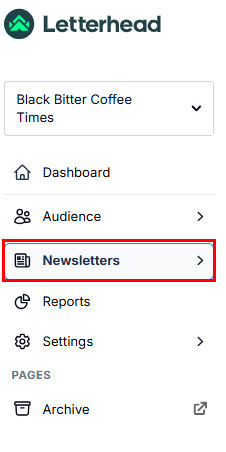
To begin, in the menu select Newsletters.
- Select a template or blank template from the Create a newsletter section.
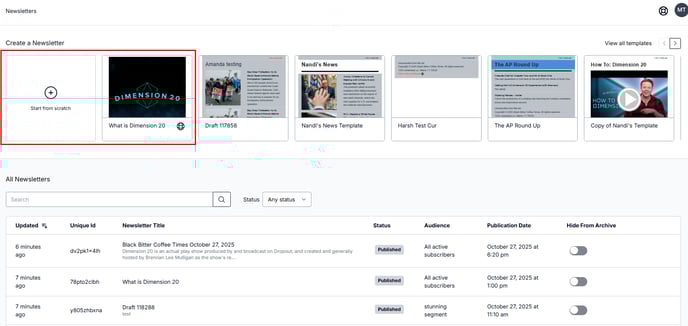
- Once you click on your option, you will be redirected to the newsletter composer screen.
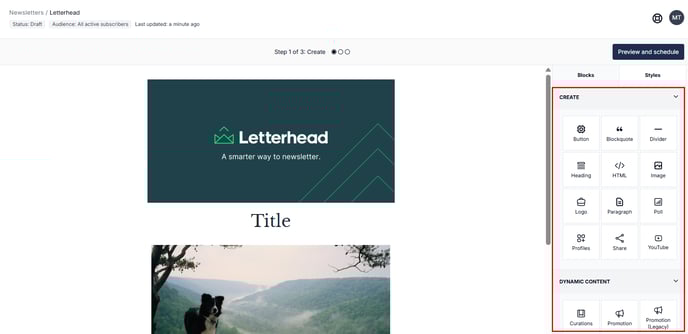
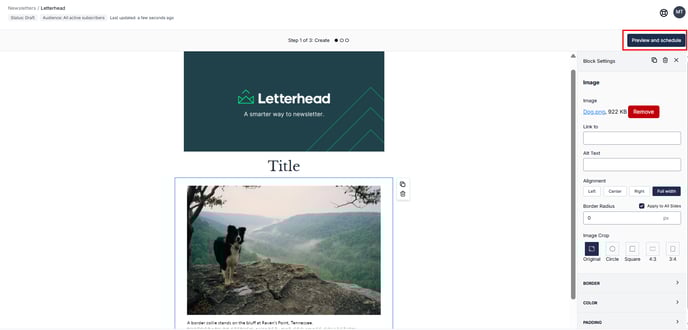
- Step 1 of 3: Create, in the left-hand side panel, while the newsletter is in Draft, you can click on any of the blocks on the right and drag them into the place in your newsletter where you would like them to show.
Note: While creating the newsletter, make sure that every change or additional piece of information is saved to avoid losing them. The status at the top left of the composer page will show Saving...
to Saved: (minutes)
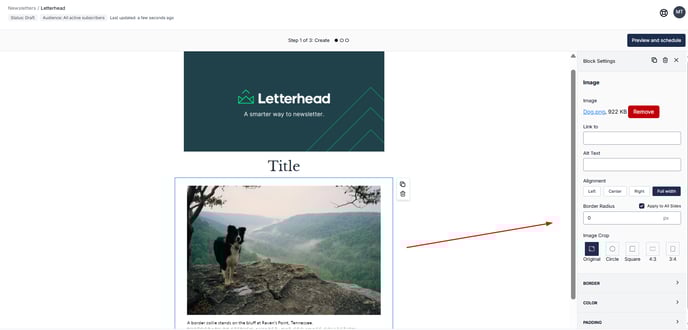
- Once you have dragged a block over, go ahead and click on the placeholder to edit the block settings on the right.
- At this point of the process, you are building your edition, adding your content, and once you are done, click Preview and schedule.
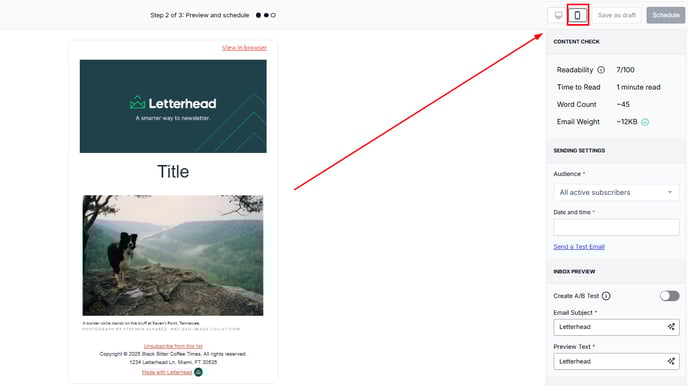
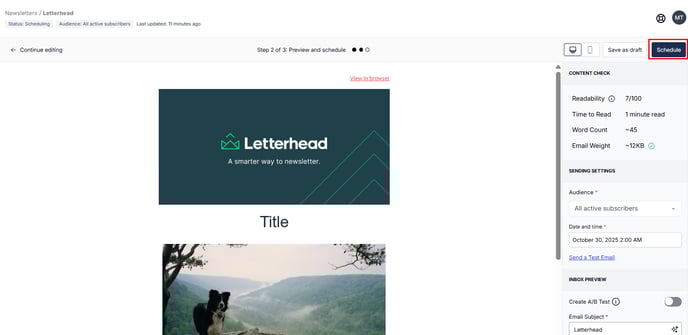
- Step 2 of 3: Preview and schedule. Here, you’ll see a live preview of your newsletter in both desktop and mobile formats.
- Desktop Preview
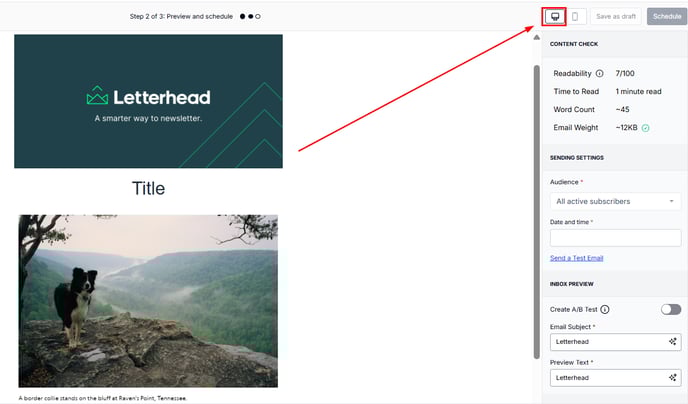
- Mobile Preview
And you can easily send a test version of your newsletter to yourself or any recipient by clicking ‘Send a test email’—a great way to review how your edition will appear before scheduling. If you’d like to save your progress and return later, simply enter your preferred date and time to save your newsletter as a draft.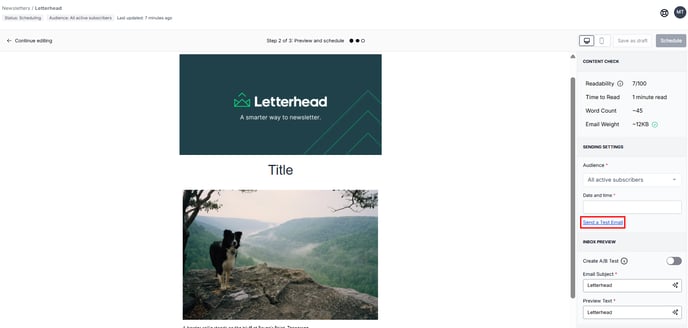
- Desktop Preview
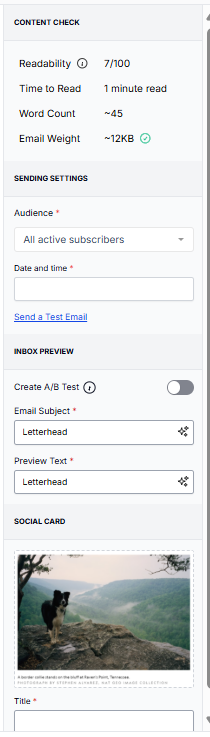
- In addition to sending a test email, on this screen's right panel, instead of the composer blocks, you will see different fields.
-
Smart Subjects: is an AI-powered feature designed to help newsletter publishers quickly craft compelling, on-brand email subject lines and preview text.
-
Email Subject: by default each new edition has a default subject, and you can update it at this point.
- Preview text: this is a required field and you can add a snippet of what your newsletter is about. This allows you to control the preview text email clients display.
- Audience: You can select who will receive your newsletter, either your entire audience, which are those members with a status of Subscribed, or a specific segment.
- Date: select the date for your newsletter to go out.
- Time: select the time for your newsletter to go out.
- Social Card:
- Preview text: You have the option to choose an image, title, and preview text that will appear as a preview when you or your readers share your newsletter on social media. This allows you to create an attractive and attention-grabbing preview that will entice readers to click and engage with your edition.
- When choosing your image make sure to click on Local Files or Direct Link to update the default image.

-
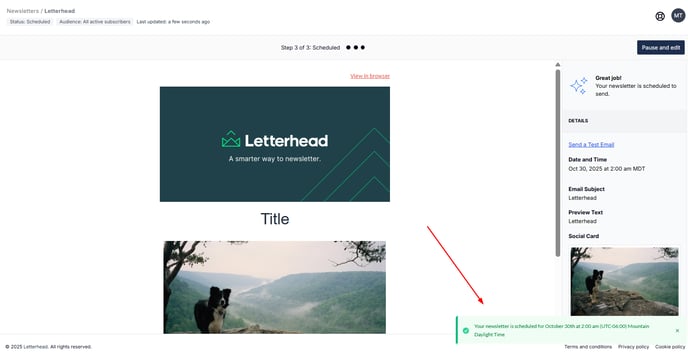
- When everything is all set, click Schedule.
- Once scheduled, a message will appear on the lower right of the screen showing the date and time you selected when scheduling the newsletter.

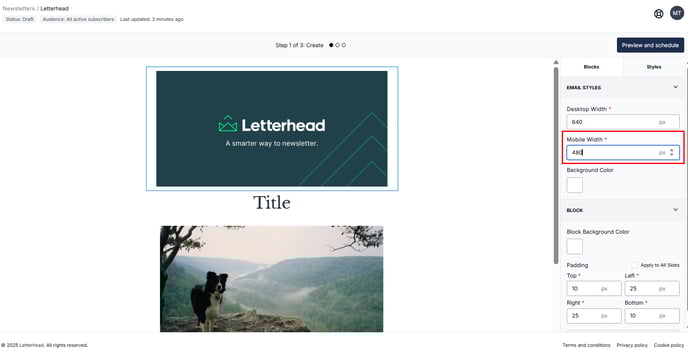
Note: To adjust your newsletter’s appearance on mobile, go to Step 1: Create. Click the Styles tab on the right, then set the Mobile Width to customize how your content displays on different devices. This ensures your newsletter looks great and is easy to read everywhere.
![]()
For example, if you have an image on the left and text on the right, you can now choose whether they should stack vertically on mobile with the image appearing on top and the text below.
This gives you more flexibility to ensure your email layouts look great and stay readable across all devices.
Need Help?
If you have questions or need assistance, please contact our support team at support@tryletterhead.com or log a support ticket through the Help Center!