💡 Promotions are created at the Organization level (the top-level account), not within individual channels. You’ll need to be on the Organization view to begin.
Step 1: Navigate to the Promotions Page
-
From the Organization level, select the Promotions page in the left-hand menu.
-
The Promotions page has three tabs:
-
Templates (create reusable ad layouts)
-
Promotions (manage ad details)
-
Campaigns (capture advertiser details and group multiple promotions into a single ad buy)
-
-
By default, you'll land on the Promotions tab. If you're just getting started, head to the Templates tab first.
Step 2: Create Ad Templates
Templates define the format and placement of ads in your newsletter. Before you create templates, decide:
-
What ad types you want to offer (text, banner, or native ads).
-
Where each ad should appear (header, middle, footer).
-
What pricing you’ll use if you're selling these placements.
To create a template:
-
Click Create Template.
-
Choose your ad type (e.g., Banner, Native).
-
Name your template based on its position and format (e.g., “Banner – Header”).
-
Define recommended image dimensions (e.g., 650 x 250 for banners).
💡 Note: The height is now automatically set to auto-height, meaning it will scale proportionally based on the width you define. This ensures your ad displays cleanly and responsively in the newsletter layout. -
Click Submit.
Repeat this process for each combination of ad type and placement you plan to offer.

Optional: Use Auto-Inject to Skip Manual Placement
When creating your ad template, you’ll see an option to Auto Inject for newsletters. This lets you skip manually placing ad blocks when composing a newsletter.
-
Check the Auto Inject box.
-
Select the position where the ad should automatically appear:
-
Header
-
Hero Section
-
Mid-body
-
Bottom-body
-
Footer
-
-
Save the template and follow the regular steps to create your campaign and promotions.
🪄 When your newsletter is scheduled to send on a date that matches an active promotion, the ad will automatically display in the selected position — no need to drag in a promotion block.
🔒 Note: With Auto Inject selected, promotions are locked in place and cannot be manually moved around in the newsletter layout.
👉 Want a full walkthrough of Auto-Inject? Learn more about how Auto Inject works ›
Step 3: Create a Campaign
Once your ad templates are ready and you've sold ad space or are preparing to run your own promotions:
-
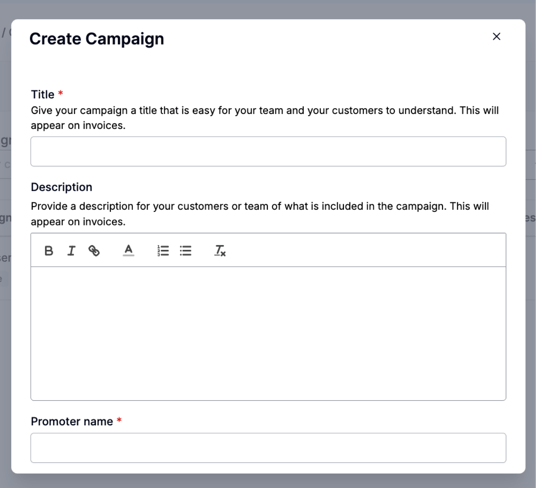
Go to the Campaigns tab and click Create Campaign.
-
Give the campaign a descriptive name (e.g., “March – Banner + Native – Client Name”).
-
Enter the advertiser’s name and your contact email.
-
Select the channels where this campaign should run.
Click Create.

You’ll now see your campaign in Inactive status.
Step 4: Add Promotions to the Campaign
-
On the newly created campaign and click Add Promotion.
-
Select the ad template you created (e.g., “Banner – Header”).
-
Upload the image, link the image, and write the ad copy, etc., whichever applies to your promotion.
-
Assign the promotion to the dates it should run.
-
Repeat this for any other ad slots in the campaign.
-
Once ready, click the active toggle to make the campaign live.
🔍 If you don’t see your campaign on the campaign homepage, make sure to change the filter from “Active” to “All” or “Inactive.”
Step 5: Place Promotions in Your Newsletters
To include promotions in your newsletter:
-
Go to the Newsletters section of a channel.
-
Open the draft newsletter where you want to place the ad.
-
Use the Ad Placeholder Blocks to add promotion slots:
-
Example: Place a banner ad under your logo (header), another mid-article, and a third above the footer.
-
-
For each block, select the appropriate corresponding template (e.g., “Banner – Header”).

-
Your scheduled promotion will automatically populate in the correct slot based on the send date and template type.
Quick Recap
-
Decide on the ad types and locations you want to offer.
-
Create matching ad templates in the Templates tab.
-
When ready, build a Campaign and add individual Promotions to it.
-
Include promotion blocks in your newsletter template so sold ads can populate automatically.
🎯 Pro Tip: Having placeholders already in your newsletter layout makes it easier to manage campaigns and ensures ad placements are consistent!
Need Help?
If you have questions or need assistance, please contact our support team at support@tryletterhead.com or log a support ticket through the Help Center!